Introduction
The Horror of Talaraska is intended to be a starting adventure, originally written with the Dungeons & Dragons Rules Cyclopedia in mind. For further information on the adventure itself, here are the important links:
The Horror of Talaraska part I
Recap of Part I
In Part 1 of The Horror of Talaraska, the adventurers arrived at the village of Cross Tree, a quiet settlement nestled within a dense forest. They soon learned that the village had been terrorized by a group of bandits led a brute named Kargan Pike. After a recent attack on the village, the adventurers were asked by the settlement’s cleric to track down the bandits and recover stolen items crucial to the village’s survival.
The party tracked the bandits to their camp just off the road, where they found the remaining brigands in a state of fear and disarray, their leader and another bandit having disappeared into a mysterious cave. The party is now faced with the choice of entering the cave to seek out the missing bandits or returning to the village with any captives.
It’s certainly possible that the PCs will decide that they’ve had enough and want no part of exploring the cave. Should things play out that way, you’ll want to be prepared for role-playing their triumphant return to Cross Tree. However, I expect that most budding adventurers worth their salt will simply not be able to pass up the chance to explore the cave and bring Kargan Pike to justice. That is the outcome we will explore here.
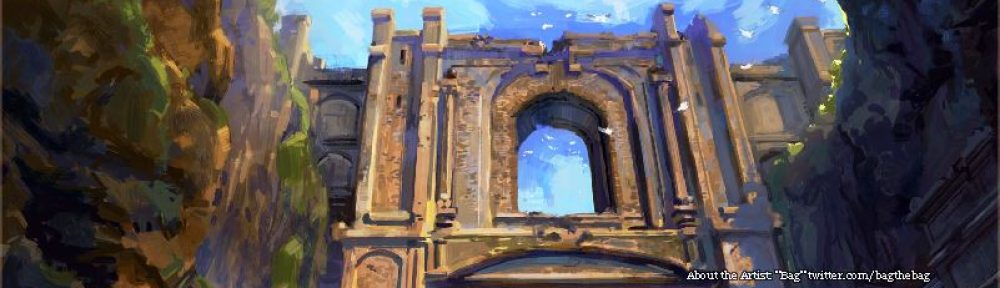
The Lost City of Talaraska
What the players don’t know is that what lies before them is no ordinary cave. The recent earthquake that struck the region caused a collapse revealing this entrance. Beyond this unassuming passage is not merely a darkened cavern, but the gateway to a city long forgotten by time. This is Talaraska, once a thriving center of arcane secrets. The city’s haunted remains lie in wait, holding both ancient treasures and terrifying dangers.
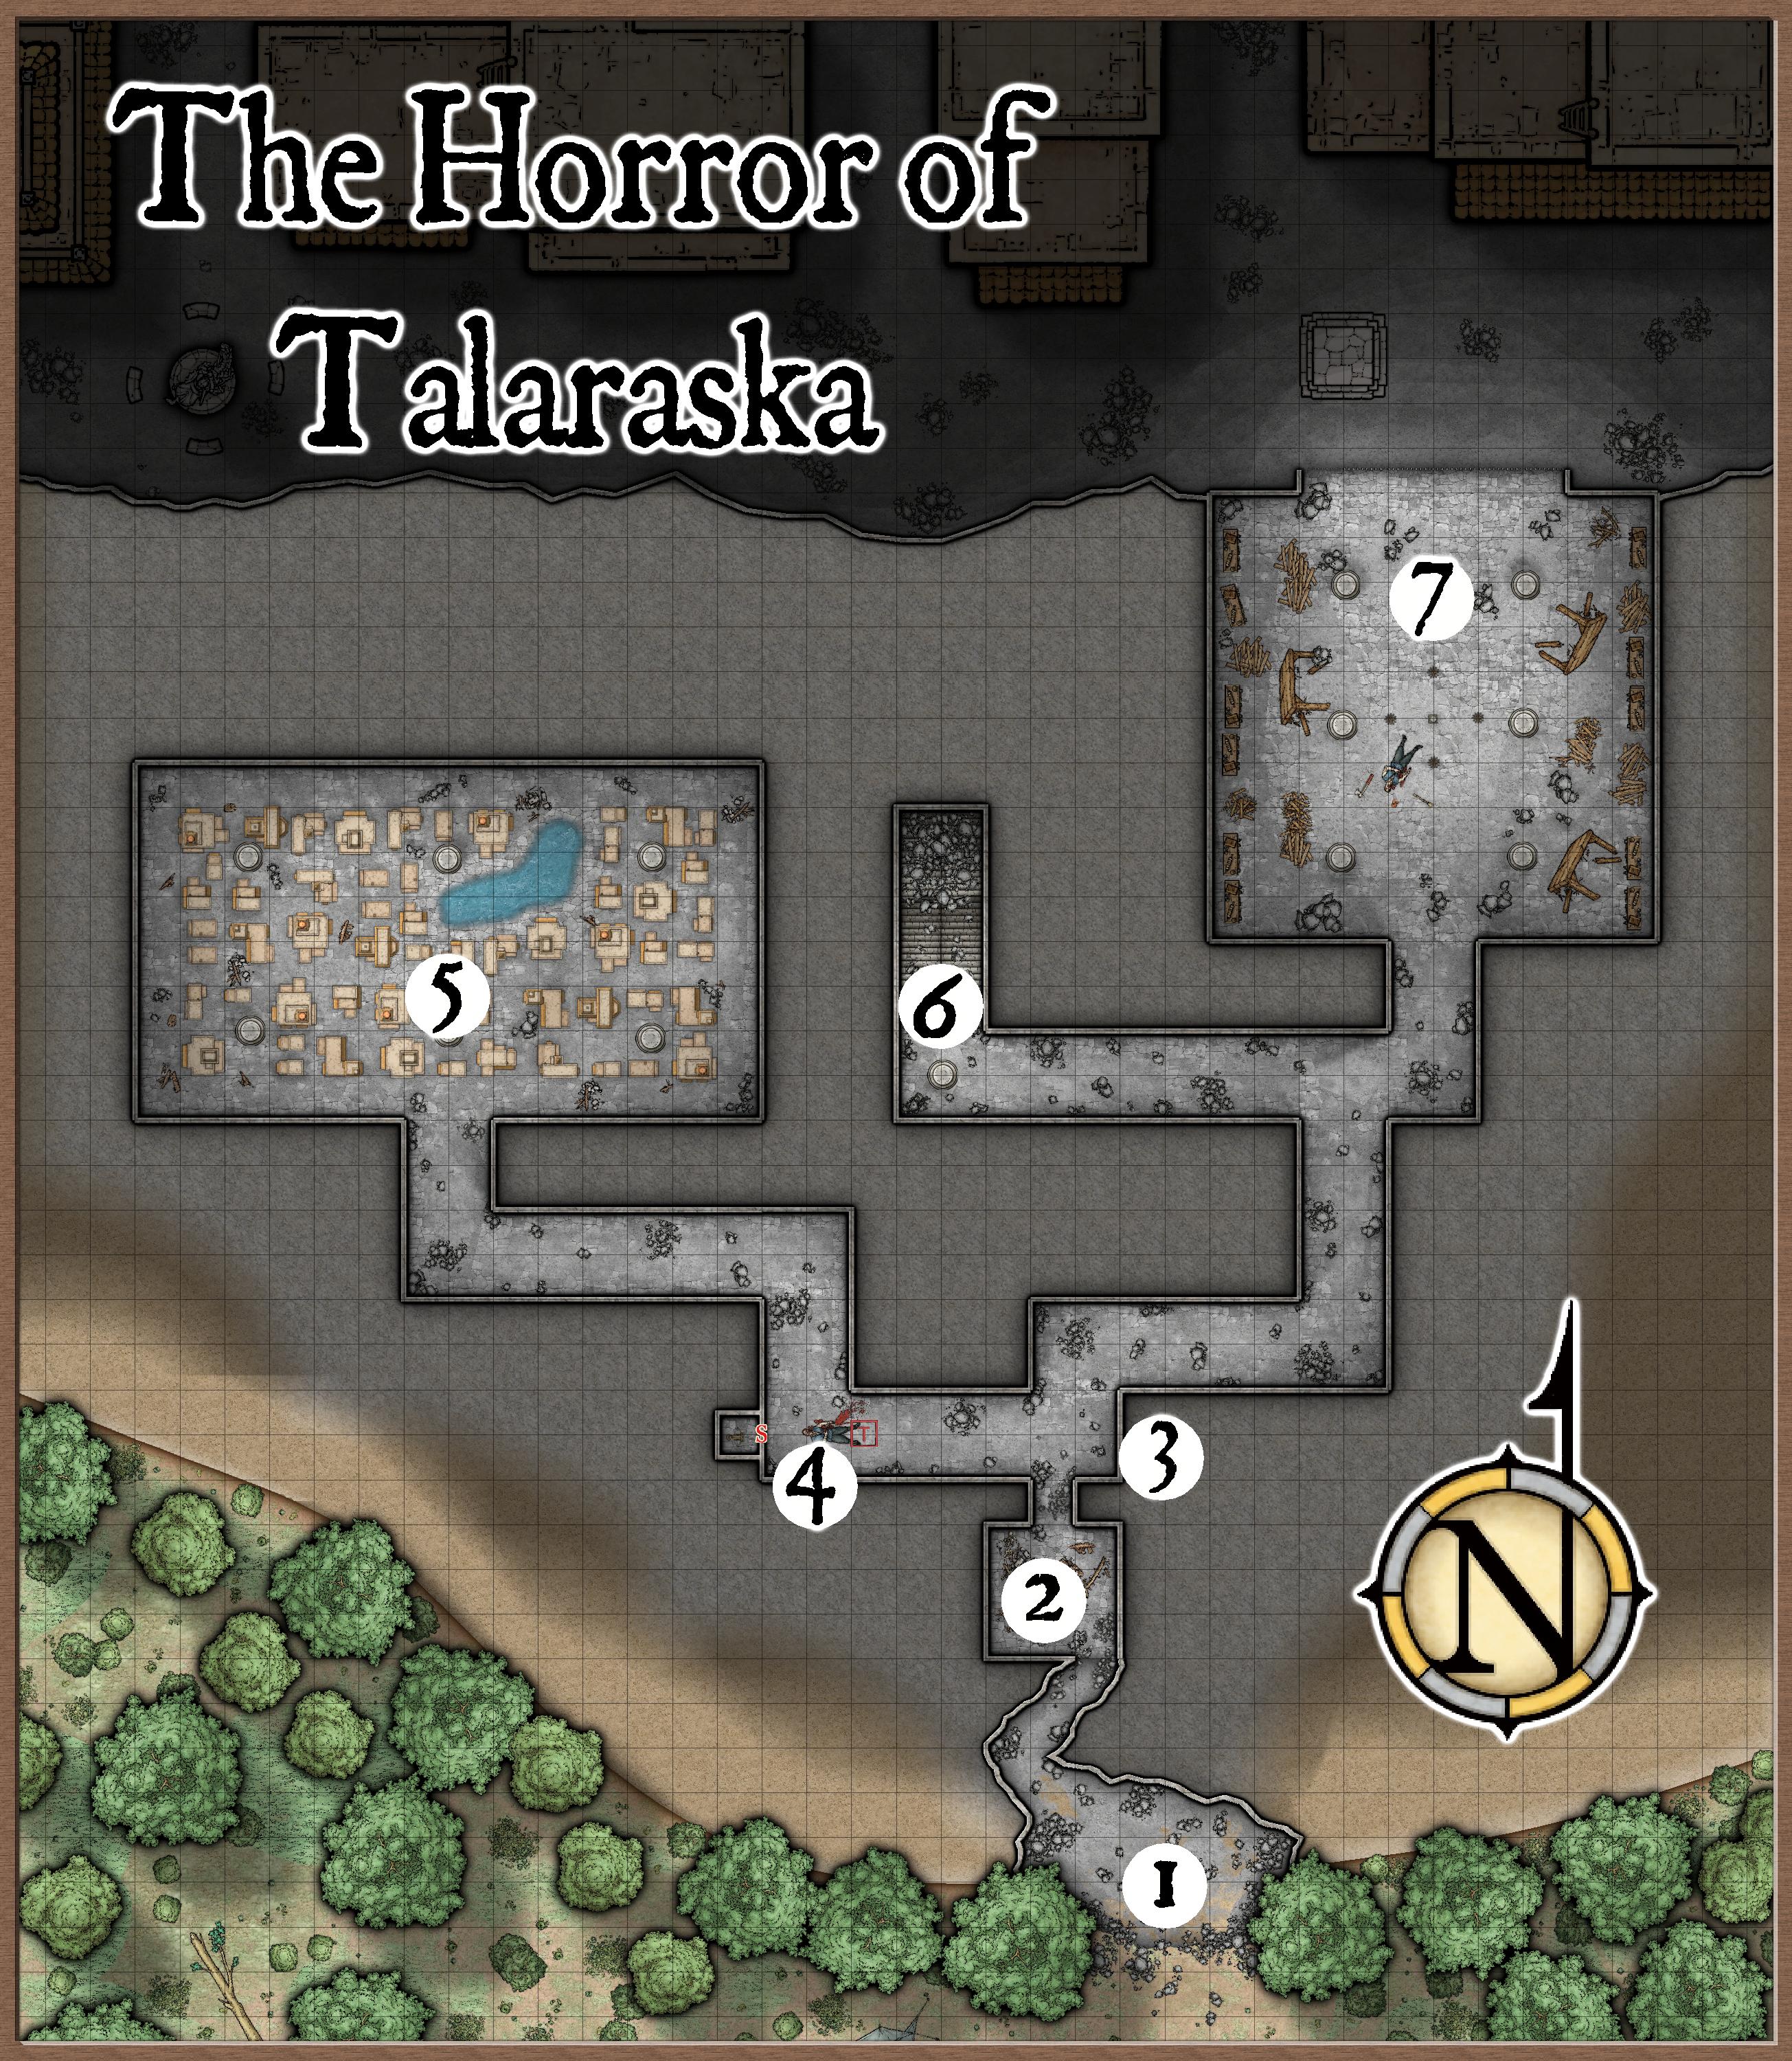
#1 Cave Entrance
The jagged edges and loose rubble make it clear that this cave entrance is newly formed. The chamber inside measures roughly 15 feet by 30 feet, with a low ceiling that barely rises more than 5 feet in height. Moving through the cave requires the adventurers to crouch slightly, adding to the claustrophobic atmosphere. Dust and debris litter the ground, and several stones look freshly fallen, hinting that the cave’s stability may be in question.
A narrow passage leads off to the northwest before taking a sharp turn to the northeast, plunging into darkness. Torches will be necessary to proceed forward. The air is thick with the scent of damp earth and mildew, but those who search the ground will quickly note two sets of tracks leading into the passage.
#2 Breached Room

At the end of the narrow tunnel, the party emerges into a small 15′ x 15′ chamber. Unlike the natural cavern behind them, this room is clearly man-made. The floor and walls are smooth, worked stone, marked by the passage of time but still intact. The southern wall of the chamber has collapsed inward, littering the floor with debris, chunks of masonry, shattered wood, and dust. Among the wreckage, the skeletal remains of two unfortunate souls can be found, partially buried beneath the rubble. Cool, stale air flows in from the north.
Careful examination of the scene will reveal more. Characters with relevant skills (such as Dwarves with their inherent knowledge of stonework) have a 1-in-3 chance of discerning that the breach in the southern wall is the result of the recent earthquake. Meanwhile, the rubble to the north, piled high against the exit, indicates something else entirely. This was once a hidden chamber, concealed by a now-destroyed secret door.
#3 Intersection
As the party leaves the secret room, they enter an intersection where two 10-foot-wide passages branch off—one to the west, and the other to the north, which quickly bends to the east. The ceiling here rises to roughly 10 feet. Rocks and debris are scattered across the floor.
Lying on the ground near the eastern wall are eight crossbow bolts. These appear to have struck the wall before dropping to the floor. A repetitive clicking sound, heard every few seconds, draws the party’s attention to the west. As their torchlight flickers down the hall, they make out the figure of a body lying prone about 25 feet away.
#4 Body & Trap
A man’s lifeless body lies in a fresh pool of blood, and the rhythmic clicking sound continues to echo from the western wall. Upon closer inspection, this man appears to be one of the bandits, though he is not the leader, Kargan Pike. His face is twisted in pain, and he has two crossbow bolts embedded in his chest, similar to those found at the intersection in Area #3. His extinguished torch lies beside him, as does a short sword. If searched, the bandit has a pouch on his belt containing 5 gp and 4 sp.
As the party inspects the area, they’ll notice that the man’s body is resting on a pressure-sensitive plate set into the floor. The clicking noise they’ve been hearing originates from the trap mechanism located behind an arrow slit in the western wall. This arrow slit leads to a small 5-foot nook where the trap apparatus is housed.
When the bandit stepped on the pressure plate, it triggered the mechanism, causing a bolt to fire from the arrow slit. The unfortunate bandit fell onto the plate and, as the apparatus continued to attempt firing, it shot its remaining bolts, which missed their mark and struck the far eastern wall, leaving the spent bolts in Area #3. The repetitive clicking sound is simply the apparatus attempting to fire again, though it has no remaining ammunition. If the body is moved from the plate, the clicking will cease immediately.
#5 Map Room
This is a large chamber and the flickering light from the party’s torches only barely reaches the far walls. Six stone pillars rise from the floor to the 20’ high ceiling, supporting the structure. The most striking feature of the room is on the floor itself. Apart from a 5-foot-wide walkway circling the room, the rest of the floor is covered with carved replicas of buildings. These miniature structures are hewn from a dark, smooth stone and range in size from 1 to over 5 feet in length and up to 3 feet in height. While the adventurers won’t immediately realize this, the buildings represent a detailed map of the central square of the lost city of Talaraska.
Frescoes adorn the walls of the chamber, though time has not been kind to them, and the images are cracked and faded. Closer inspection of the paintings reveals disturbing scenes of a fabulous city, filled with towering buildings, now in a state of chaos. Shadowy figures, vaguely humanoid in shape, emerge from the edges of the city, chasing terrified citizens. The figures seem to be made of darkness itself, wrapping around buildings and enveloping those who flee. In one of the central scenes, the sky is depicted with a blazing sun high above. The shadowy figures are seen retreating from the light, their forms dissipating and shrinking as the sun’s rays touch them.
In the center of the room, a pool of water represents a lake within the city. Its dark waters glisten faintly in the torchlight, and a subtle ripple occasionally disturbs its surface. Unbeknownst to the party, a carrion crawler has recently surfaced through a crevice at the bottom of the pool and picked up the scent of the dead bandit at location #4. Sensing the vibrations of the approaching adventurers, it is holding its position but will slither from the pool and attack when they draw near.

yuri.perkowski@gmail.com
Carrion Crawler: AC 7; HD 3+1; hp 13; MV 40′; #AT 8; D paralysis; Save F2; ML 9; AL N. A hit by a carrion crawler paralyzes the victim unless a save vs. Paralysis is made. The paralysis can be removed by a cure light wounds spell, but any spell so used will have no other effect. Without a spell, the paralysis will wear off in 2-8 turns.
If the party takes the time to inspect the pool closely, they will notice something glinting at the bottom. A thorough search of the pool will reveal a sapphire brooch, its intricate design still gleaming despite the years underwater, worth 275 gp.
#6 Collapsed Stairway
A solitary stone pillar supports the ceiling as the corridor turns to the north. As the party approaches within 5 feet, a disembodied mouth suddenly appears on the pillar’s surface. Its stone lips move as they issue a haunting warning:
“Turn back interlopers. Death and despair await those who disturb the dark heart of Talaraska. Trespass no further into the shadows!”
Beyond the pillar, the adventurers are greeted by a sight of complete devastation. A 10-foot-wide set of stone stairs descends into darkness, but any hope of progress is dashed by a massive rock collapse. Hundreds of pounds of rubble now block the stairway, making it impossible to pass through.
# 7 The Study
As the party moves forward, the hallway opens into a large chamber, roughly 50 feet by 50 feet. The room is dark, save for the faint light cast by the adventurers’ torches. Directly ahead, they can make out a pedestal surrounded by 4 braziers, as well as the body of a man lying face down in the center of the room. Clearly once a study of some sort, crumbling bookshelves and the remains of tables line the sides of the room. The walls are covered with decayed tapestries and arcane symbols are etched into the stone floor.
Entering the room, the PCs will see that to the north the chamber opens into vast blackness, a 30-foot-wide opening in the wall where the ground suddenly drops off. A cool breeze enters the room from this opening, bringing with it the scent of stale air. Should the party go so far as to hold torches out this opening, it will become clear that a great cavern looms below. Some 40’-50’ down, they can just make out the shapes of buildings in the darkness.
The pedestal is carved from black marble, its surface smooth and polished. Designs cover the sides of the pedestal and they appear to shift slightly in the torch light. At the top of the pedestal is a shallow indentation. In the very center of this indentation is a hole, barely wider than a finger.
The body is that of the bandit leader, Kargan Pike. He is quite dead, though he bears no apparent wounds. If the adventurers roll him over, they should be able to recognize him from the villagers’ descriptions. They will also note that his body is cold to the touch and he died with a look of abject terror on his face.
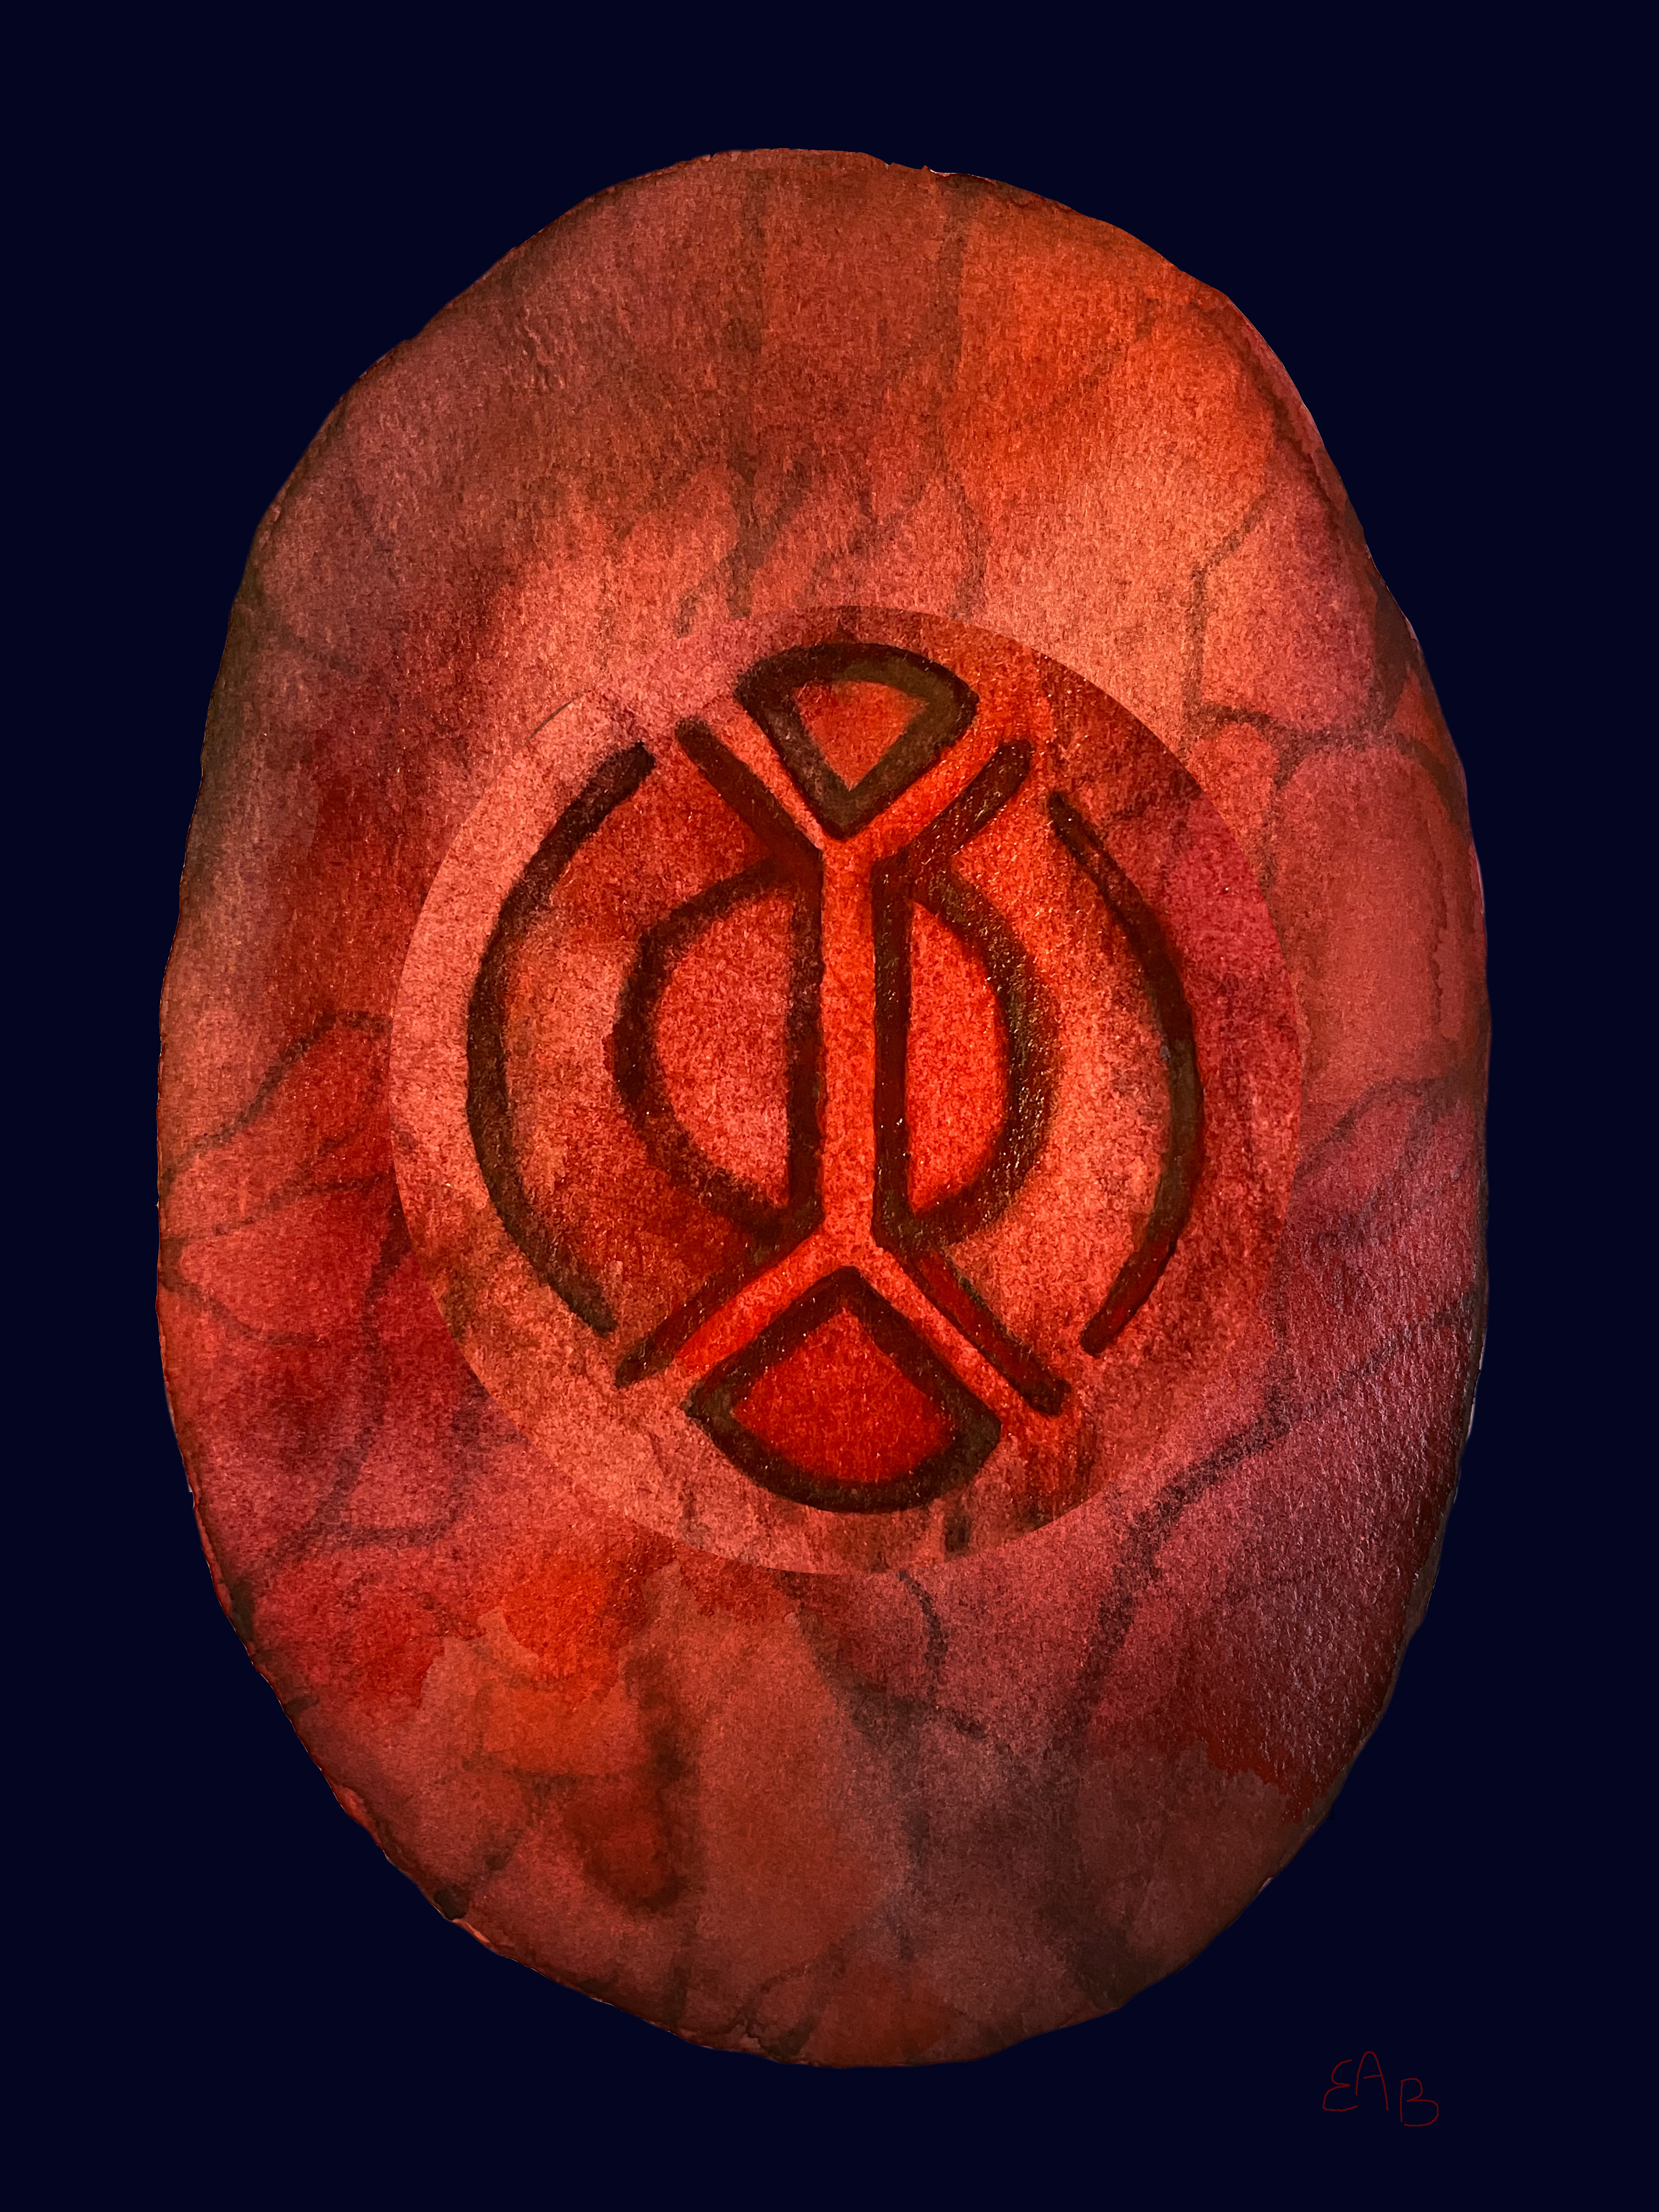
The missing satchel of medicinal herbs and business ledger may be found in his backpack. An extinguished torch and hand axe lay not far from his body. Also of note, a polished stone with an intricately carved rune lies not far from his outstretched right hand. Roughly 3” in diameter, the runestone is reddish in color and seems to pulse with an inner fire. Unbeknownst to the party, this relic originally rested on the pedestal. When Pike entered the room, the bandit snatched it up, triggering an event that led to his demise.
If any of the party members pick up the stone, an iron portcullis will immediately slam down from the ceiling. With a deafening clang, the entrance will be sealed off and the adventurers are trapped inside. At that very moment, thick black smoke begins to pour ominously from the hole at the top of the pedestal. The smoke coalesces, swirling into a vaguely humanoid form, as a chorus of indecipherable whispers fill the air. In one breathless moment, a creature fully forms out of the smoke and turns its gaze toward the adventurers. It attacks.

The Horror of Talaraska
AC: 7
HD: 3
HP: 16
Move: 60′ (20′)
Attacks: 1
Damage: 1d4 (Chill Touch)
Save As: Fighter 2
Morale: 10
Alignment: Chaotic
Special Abilities:
Fear Aura: Characters starting their round adjacent to the Horror must save vs. spells or suffer a fright. Frightened characters must flee from the creature for one round as their action. After fleeing, they may act normally on their next turn.
Chill Touch: In addition to 1d4 damage, each successful hit forces the target to roll a d10 on the Horror’s Touch table below for potential additional effects.
- 1-4 Chilled to the Bone: The character feels a deep, unnatural cold, but suffers no further effects beyond the initial damage.
- 5-7 Nightmares: The character is haunted by vivid, terrifying nightmares. Each night, they relive the moment they were touched by the Horror, waking in a cold sweat. They find sleep restless and unsettling for d10 days.
- 7-9 Shivering Limbs: The character’s limbs shudder involuntarily. They suffer a -1 penalty to attack rolls for 1 round as the cold spreads through their body.
- 10 Mark of Horror: The Horror’s chill permanently brands the character’s skin with black veins where they were touched. For the next 3 days, the character exudes an unnatural cold, causing discomfort to those nearby.
Non-Corporeal: The Horror is a magical entity (not undead), impervious to normal weapons and is immune to sleep and charm effects. It takes full damage from magical attacks and fire.
Averse to Light: The Horror avoids attacking any character holding a torch or other light source. If all four braziers in the room are lit, the Horror will retreat back into the pedestal.
If the party manages to reduce the Horror to 0 HP or light all four braziers, a sudden whooshing sound will fill the chamber as the black smoke is forcefully drawn back into the pedestal. The iron portcullis will rise with a clatter, signaling that the threat has passed.
At this point, the party has achieved what they came here to do. They have recovered the villagers’ stolen goods and with Kargan Pike dead, the threat to Cross Tree has been neutralized. The logical course would be to return to the village, report on their findings, and share the story of what truly lies beneath the forest.
The mysteries of Talaraska are far from fully revealed. For some adventurers, the allure of ancient Talaraska will beckon. Should they wish to return and lower themselves into the blackness below, a new chapter of discovery and peril awaits..
Conclusion
Well, that took entirely longer than I had expected. I’ll have one more upcoming post covering The Horror of Talaraska, to answer some questions and provide a few plot hooks for anyone interested in building on from the adventure. Following that, I’ll hopefully get back to my regular posting schedule. Thank you for taking the time to stop by and visit.
For more on the Village of Cross Tree, go here.
For maps & plot hooks, go here.
For my Idea Chest posts, go here.
For some random tables, go here.
Finally, for a bit about me and some general stuff, this is the spot.
